
Google Calendar Sync
Streamline Your Schedule: Seamless CloudOffix and Google Calendar Integration
Ditch the scheduling headaches! Synchronize your Google Calendar with CloudOffix to manage meetings effortlessly from either platform. This two-way integration ensures updates flow seamlessly in both directions, keeping your schedule in perfect harmony.
What are the Benefits?
Improved Organization and Productivity:
Centralized Schedule: By syncing, you'll have a single source of truth for your appointments and deadlines. No more flipping between calendars or missing events because they were added to the wrong platform.
Accessibility Across Devices: Access your meetings from any device with an internet connection, whether it's your work computer, phone, or tablet. This ensures you're always aware of your upcoming commitments.
Reduced Risk of Errors: Manual data entry can lead to mistakes. Syncing eliminates the need to duplicate entries, minimizing the chance of errors or inconsistencies in your schedule.
Enhanced Collaboration:
Team Visibility: Share calendars with colleagues to see everyone's availability and schedule meetings efficiently. This can be particularly useful if CloudOffix is used by your team for project management or task delegation.
Conflict Detection: Identify potential scheduling conflicts before they occur. Syncing can help ensure everyone is on the same page and avoid double-booking important resources or people's time.
Streamlined Communication: Improve communication by keeping everyone informed about schedule changes or updates that are reflected in both platforms.
First Step: Setup in Google
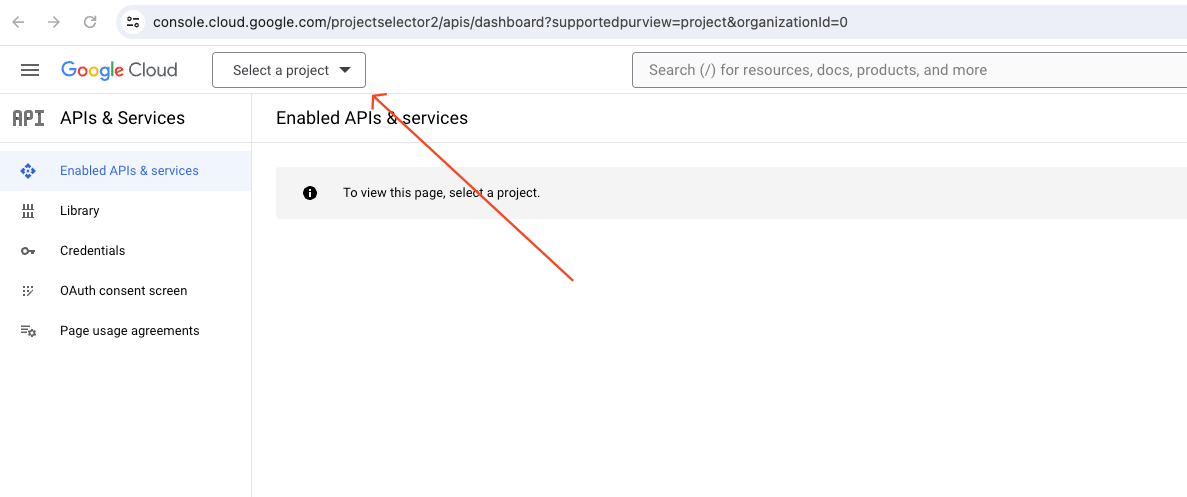
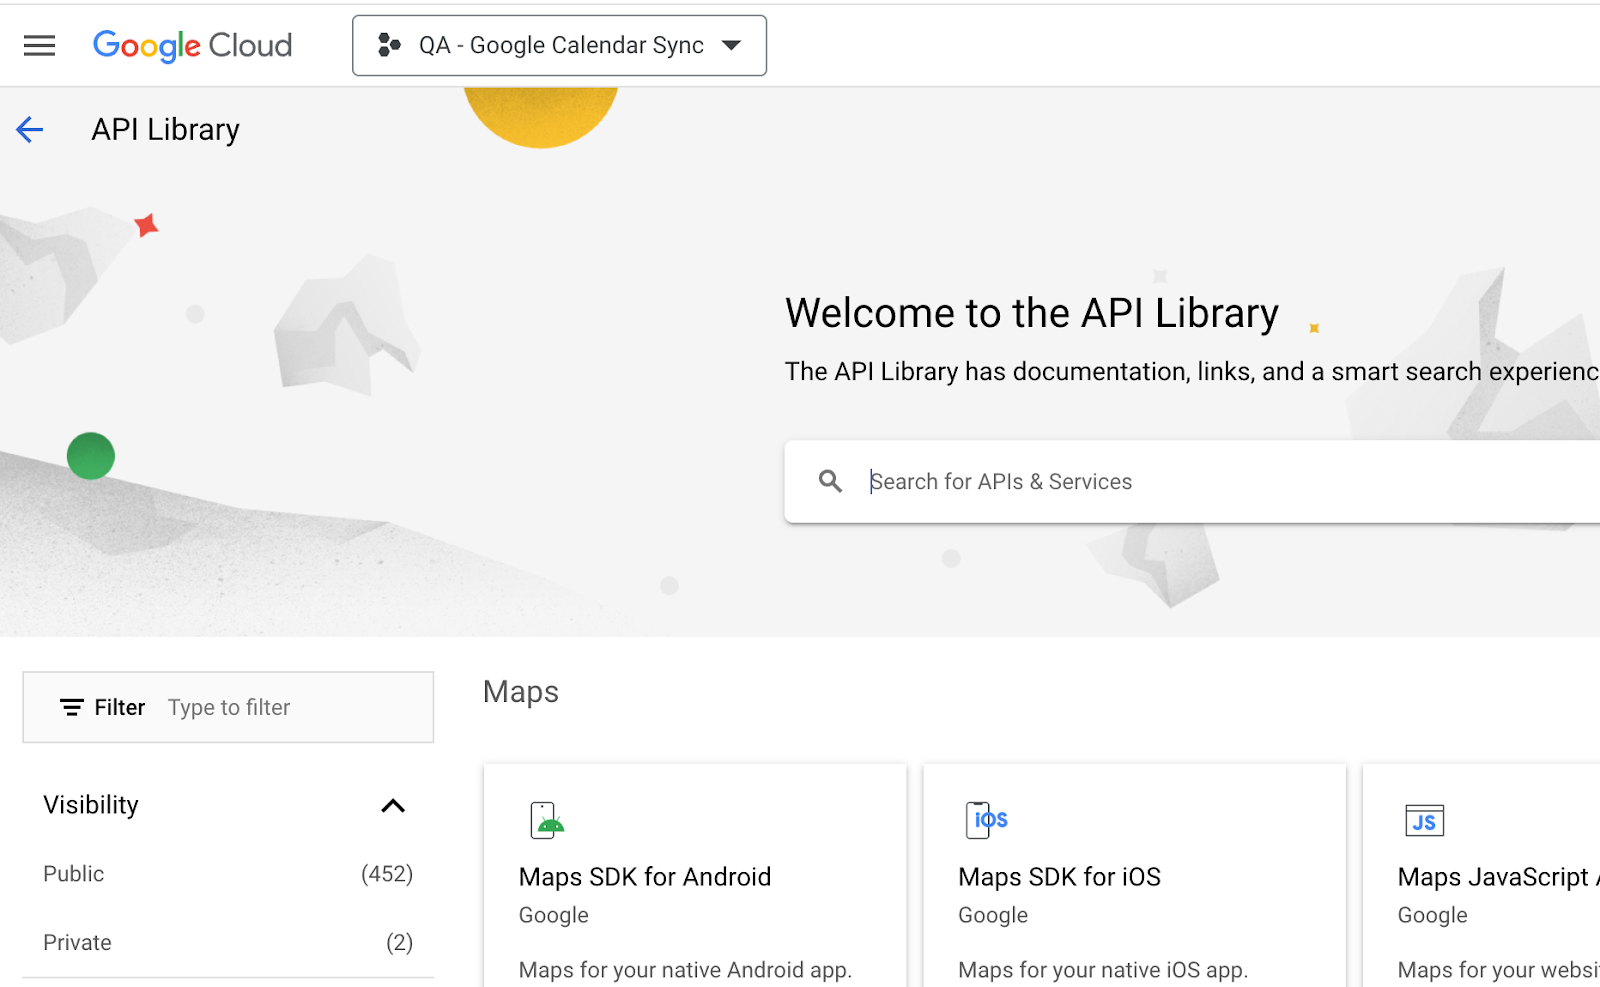
Create a new Google API project and enable the Google Calendar API. First, you should go to the Google API Console and log into the Google account.
Remark
If this is your first time visiting this page, you should choose your country and accept the Terms of Service (ToS) to continue.
Next, choose an existing project or create a new one for OAuth configuration and credential storage. Click "New Project" to get started.
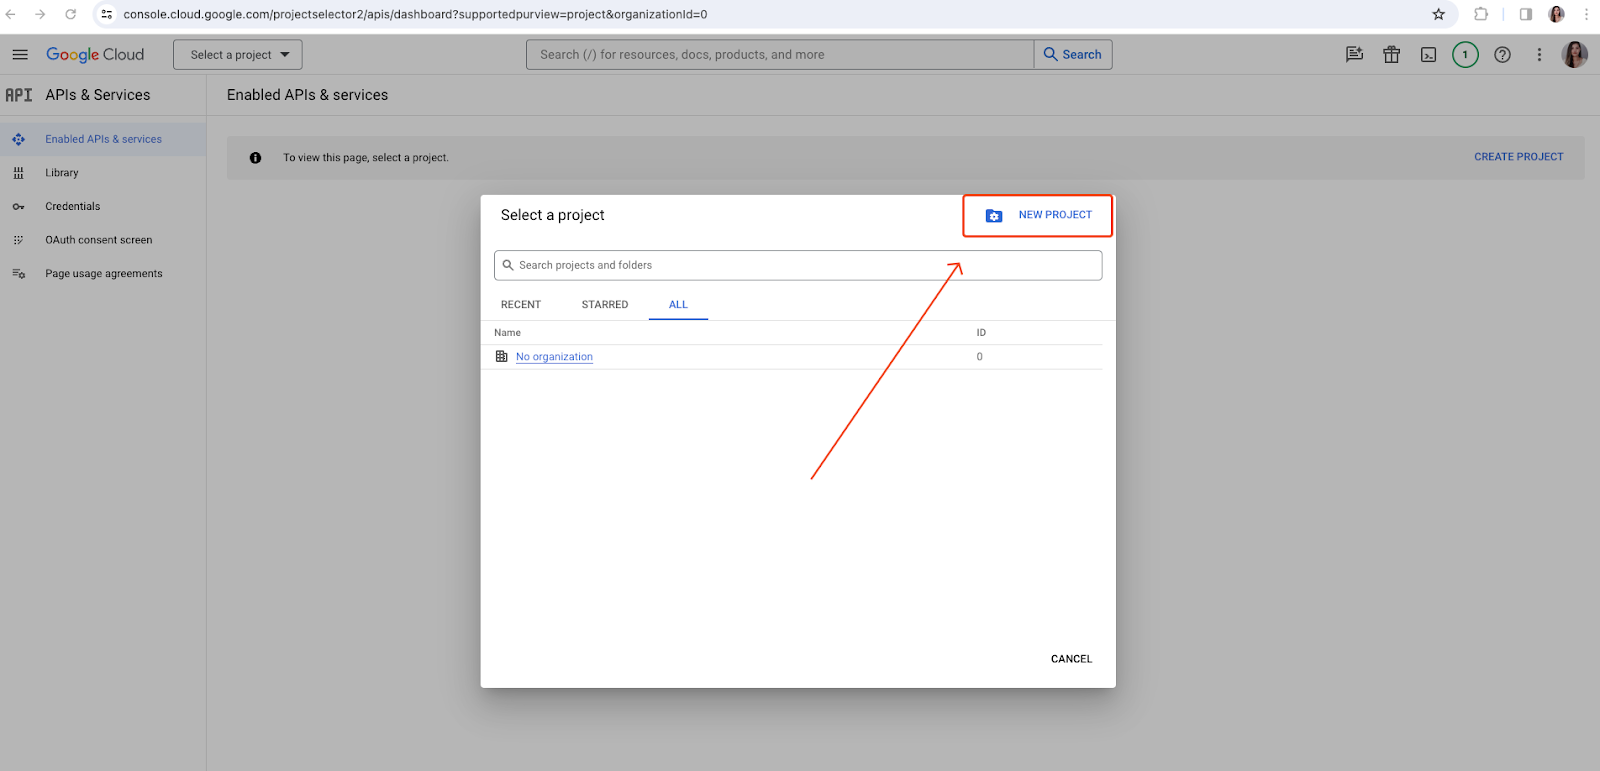
Click "New Project" to get started.
Remark
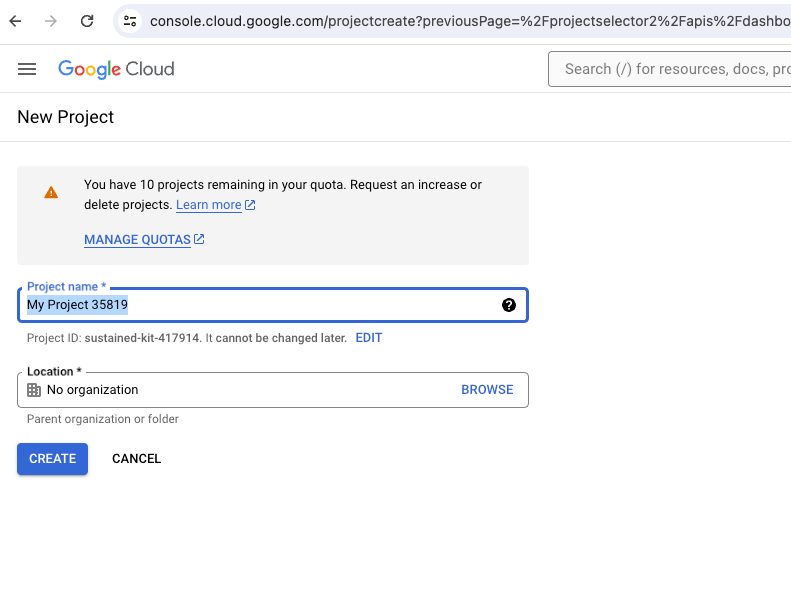
Name your API Project something helpful, like "CloudOffix Sync," to make it easy to remember what it's for.
Second Step: Enabling Google Calendar API
Click on Enabled APIs and Services in the left menu. Select Enabled APIs and Services again if the search bar doesn’t appear.
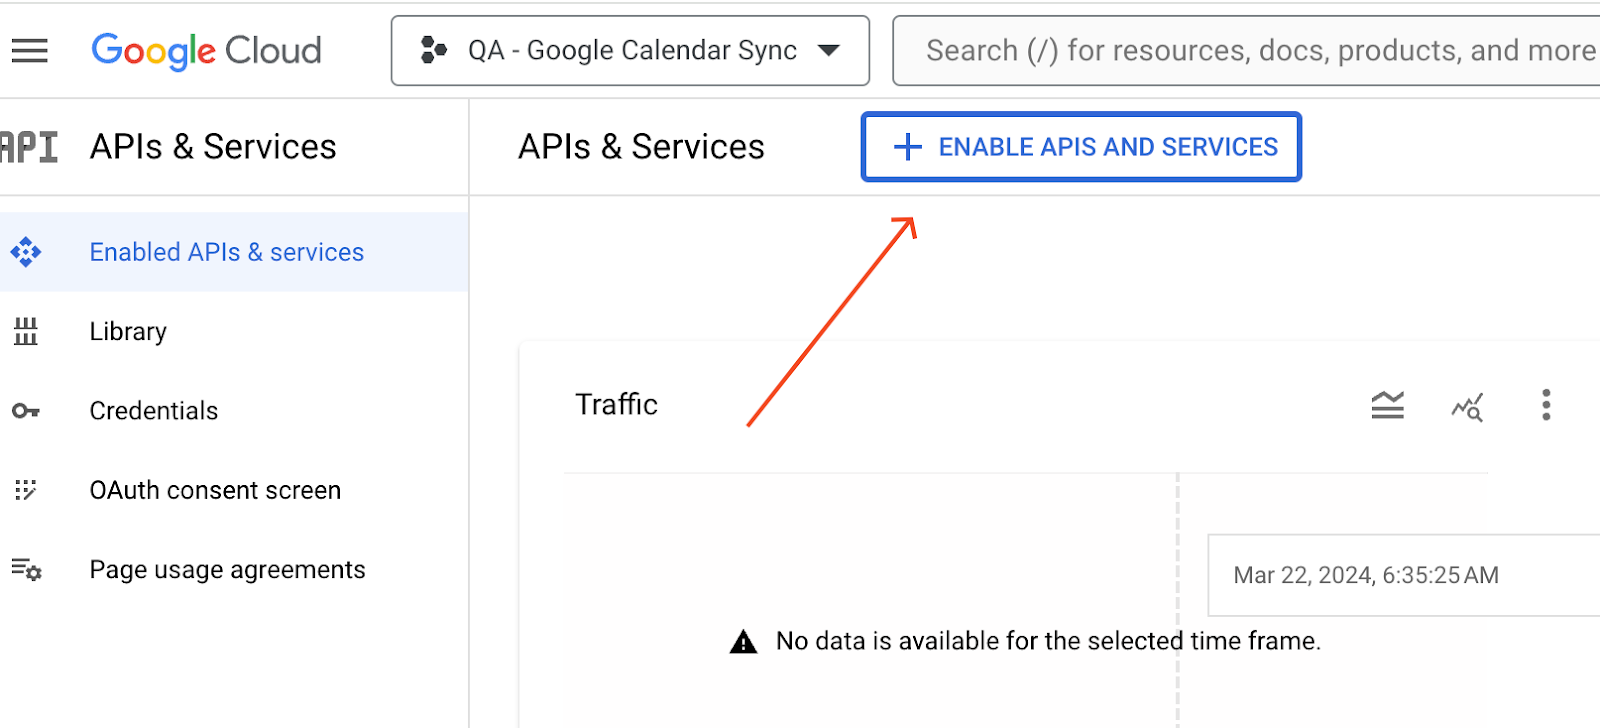
In the search bar, find and enable "Google Calendar API"
Third Step: OAuth Consent Screen Settings
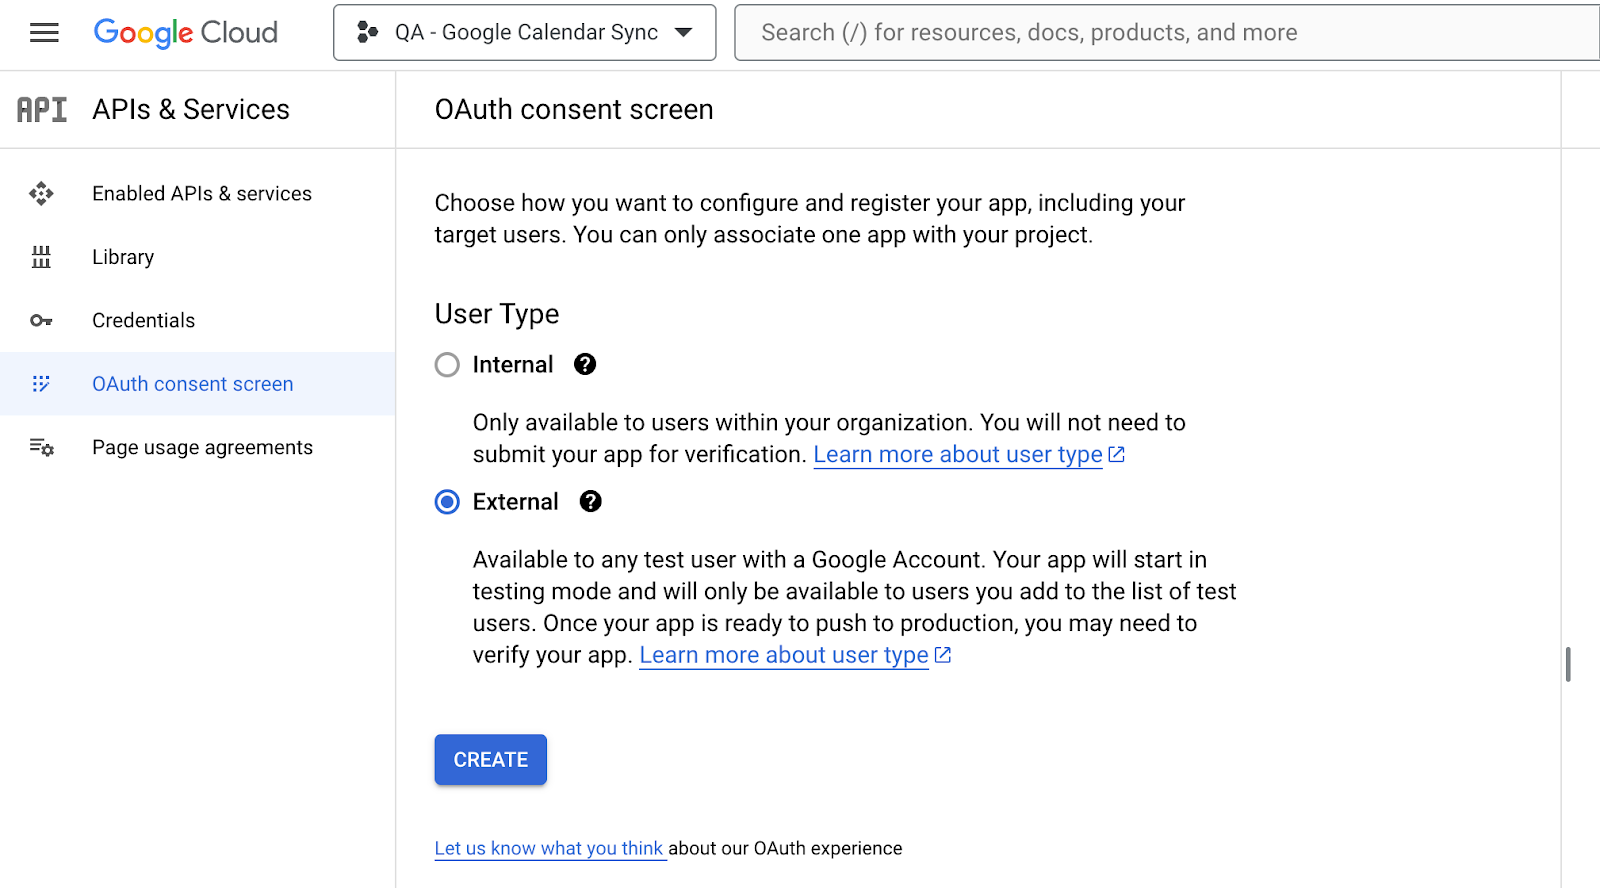
Great! Now that your project is ready, let's set up OAuth. On the left menu, click "OAuth consent" and choose the User Type.
Remark
Personal Gmail Accounts are only allowed to be External User Type, which means Google may require an approval, or for Scopes to be added on. However, using a Google WorkSpace account allows for Internal User Type to be used.
During external testing, Google approval is waived for your API connection. However, this mode has a user limit of 100.
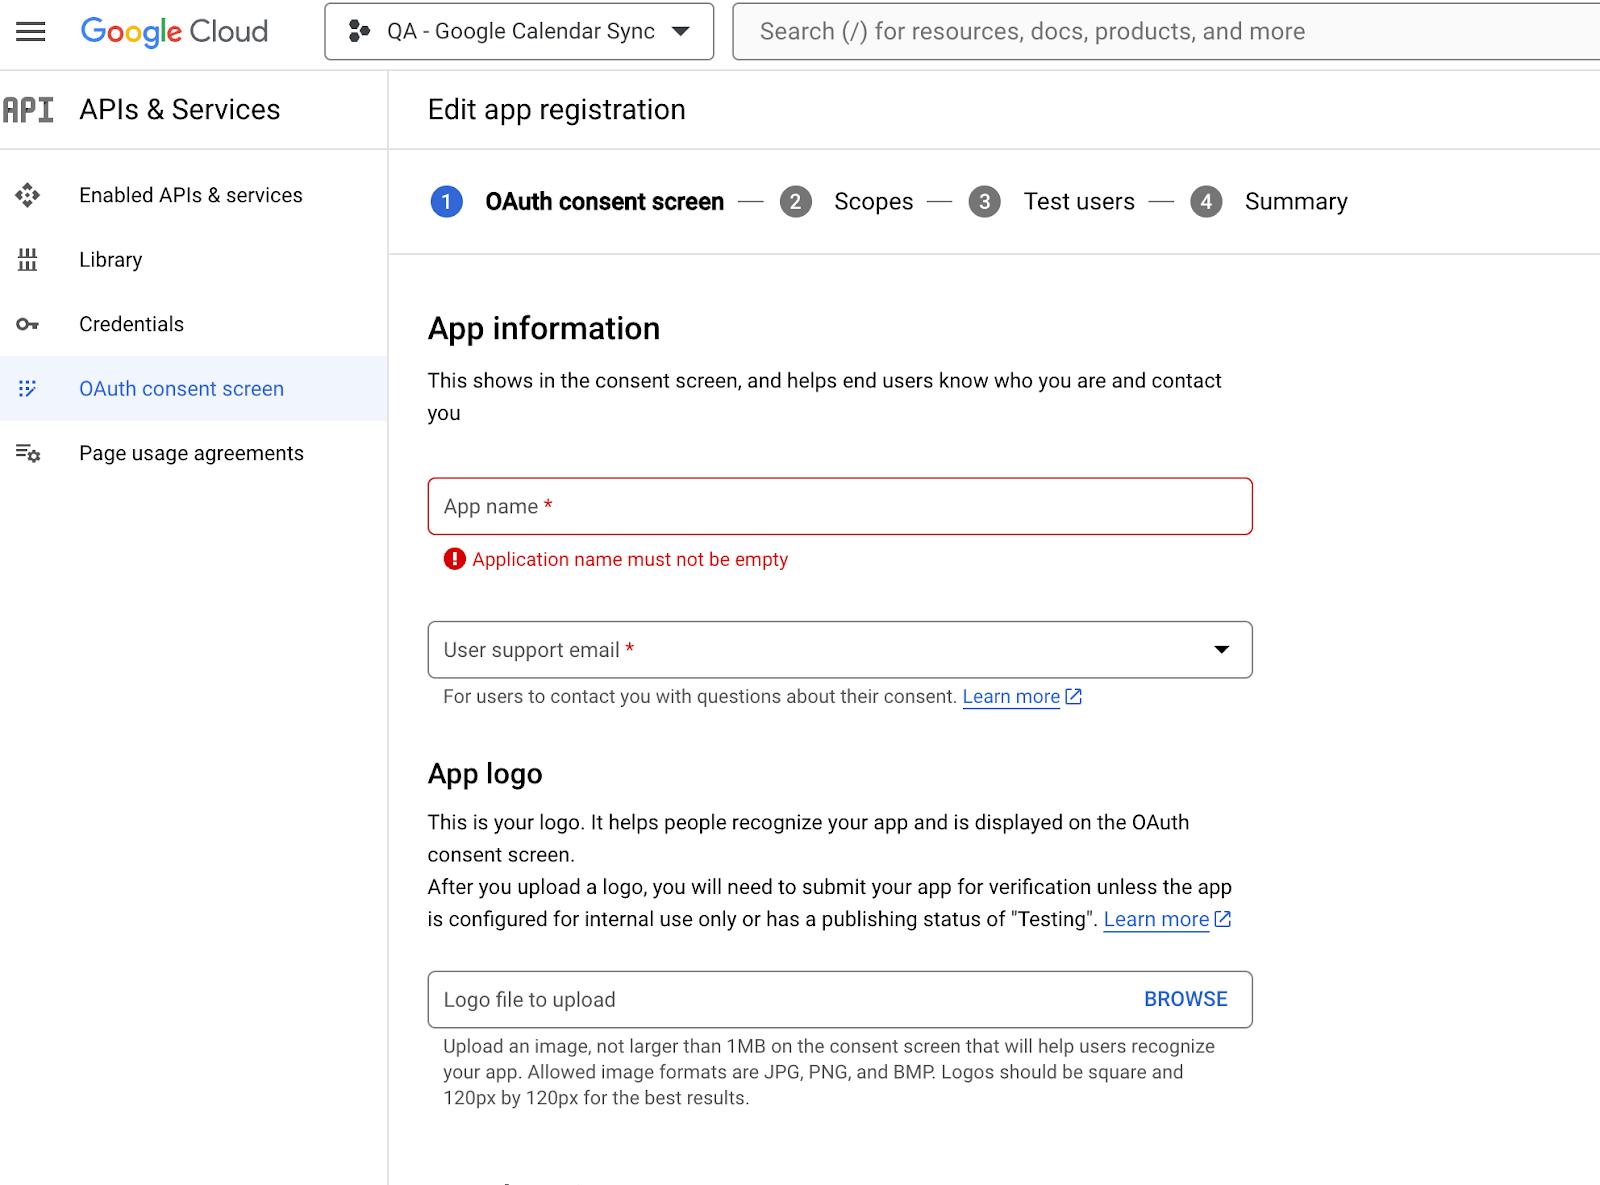
On the OAuth Consent Screen, enter "CloudOffix" in the App Name field. Select and fill in the User Support Email and Developer Contact Information fields. Click Save and Continue.
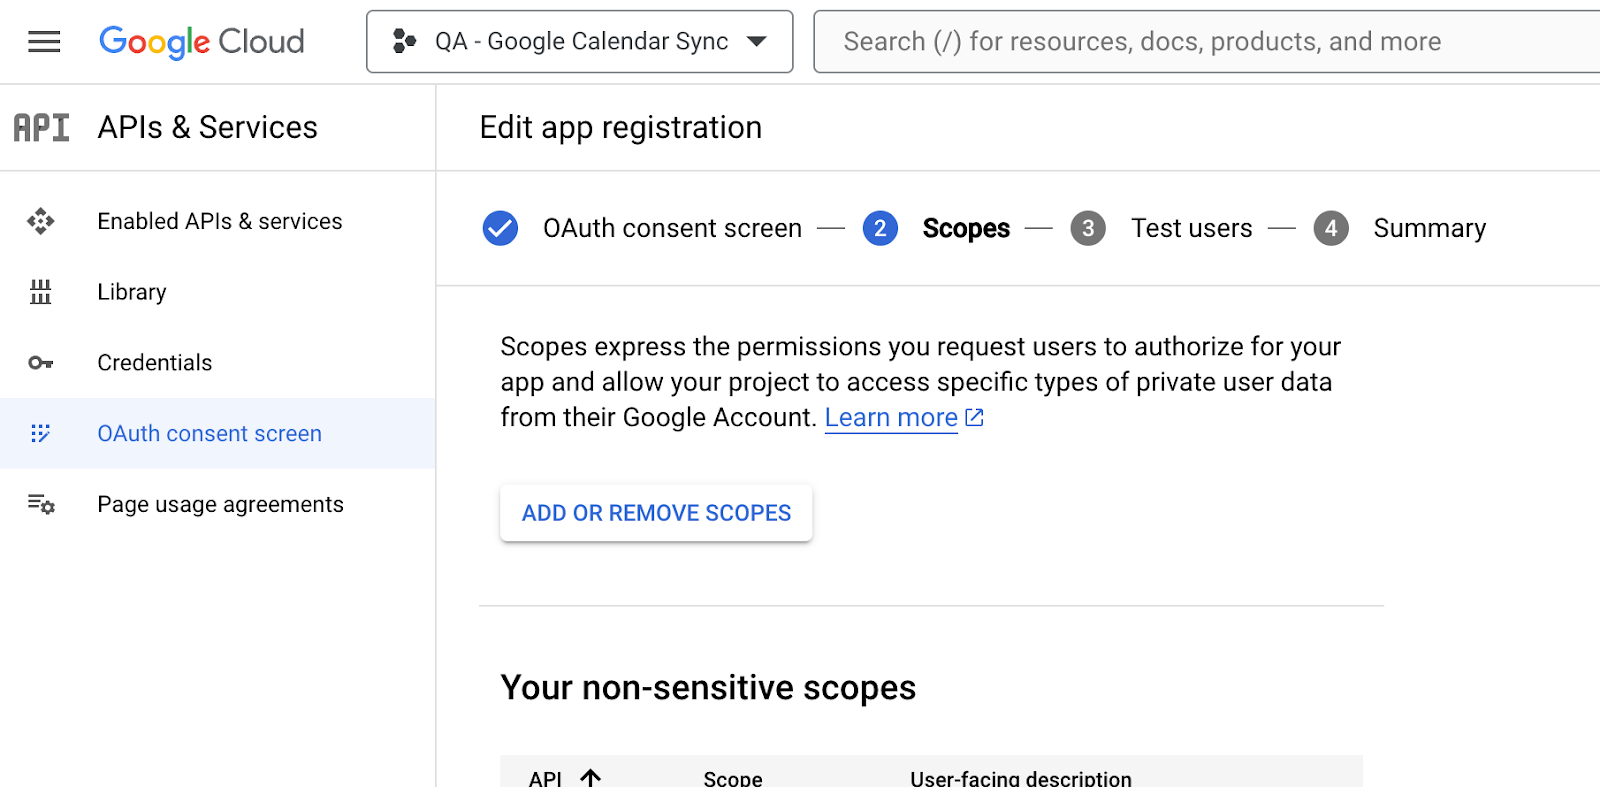
You can skip Scopes page. Click Save and Continue (You can always turn back and configure Scopes later)
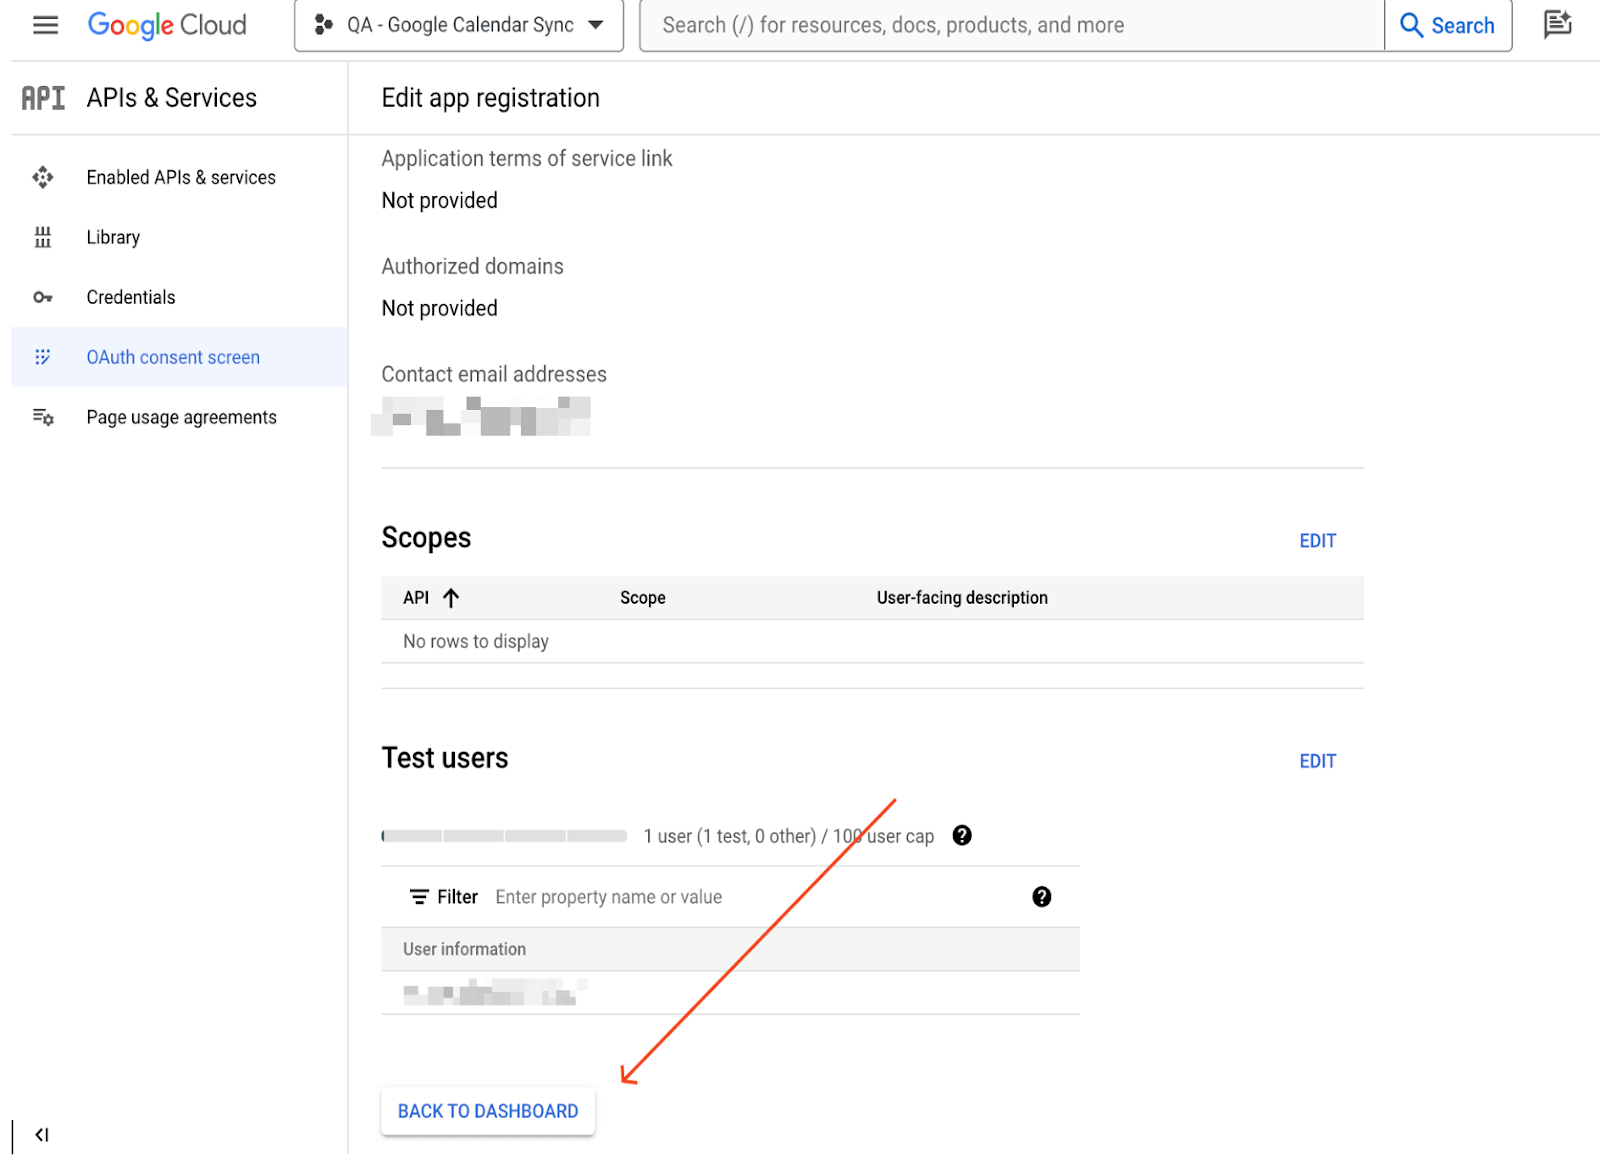
For External testing mode, you'll need to add the email addresses you configured earlier under "Test users". Click "Add Users" and then "Save and Continue" to proceed. Finally, you'll see a summary of your app registration.
All set! Scroll down to the bottom and click "Back to Dashboard". We've finished setting up OAuth consent. Next step: creating credentials.
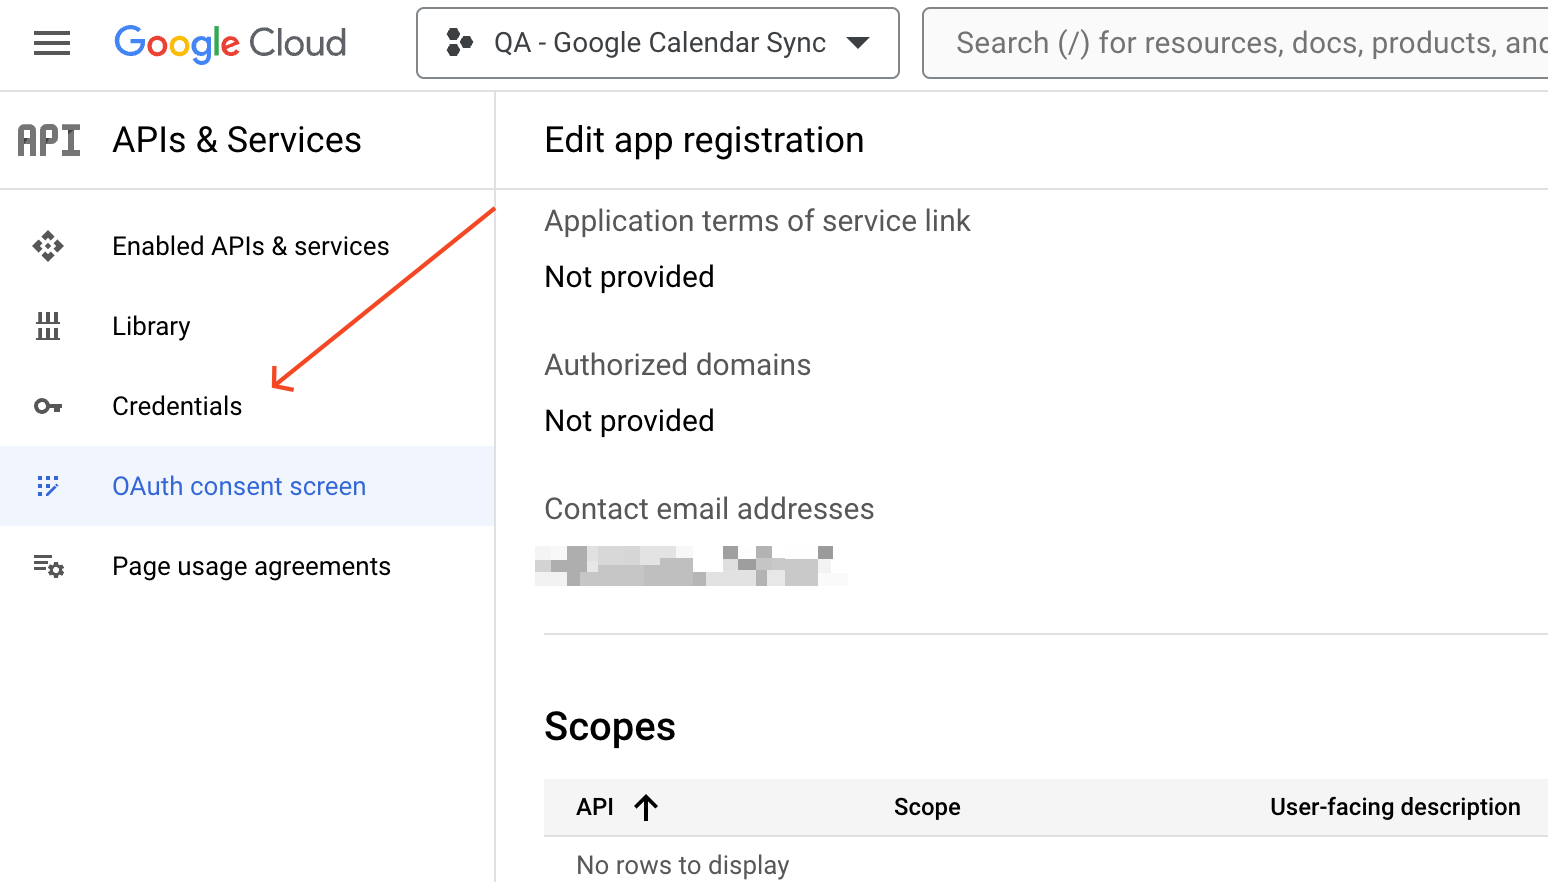
Fourth Step: Creating Credentials
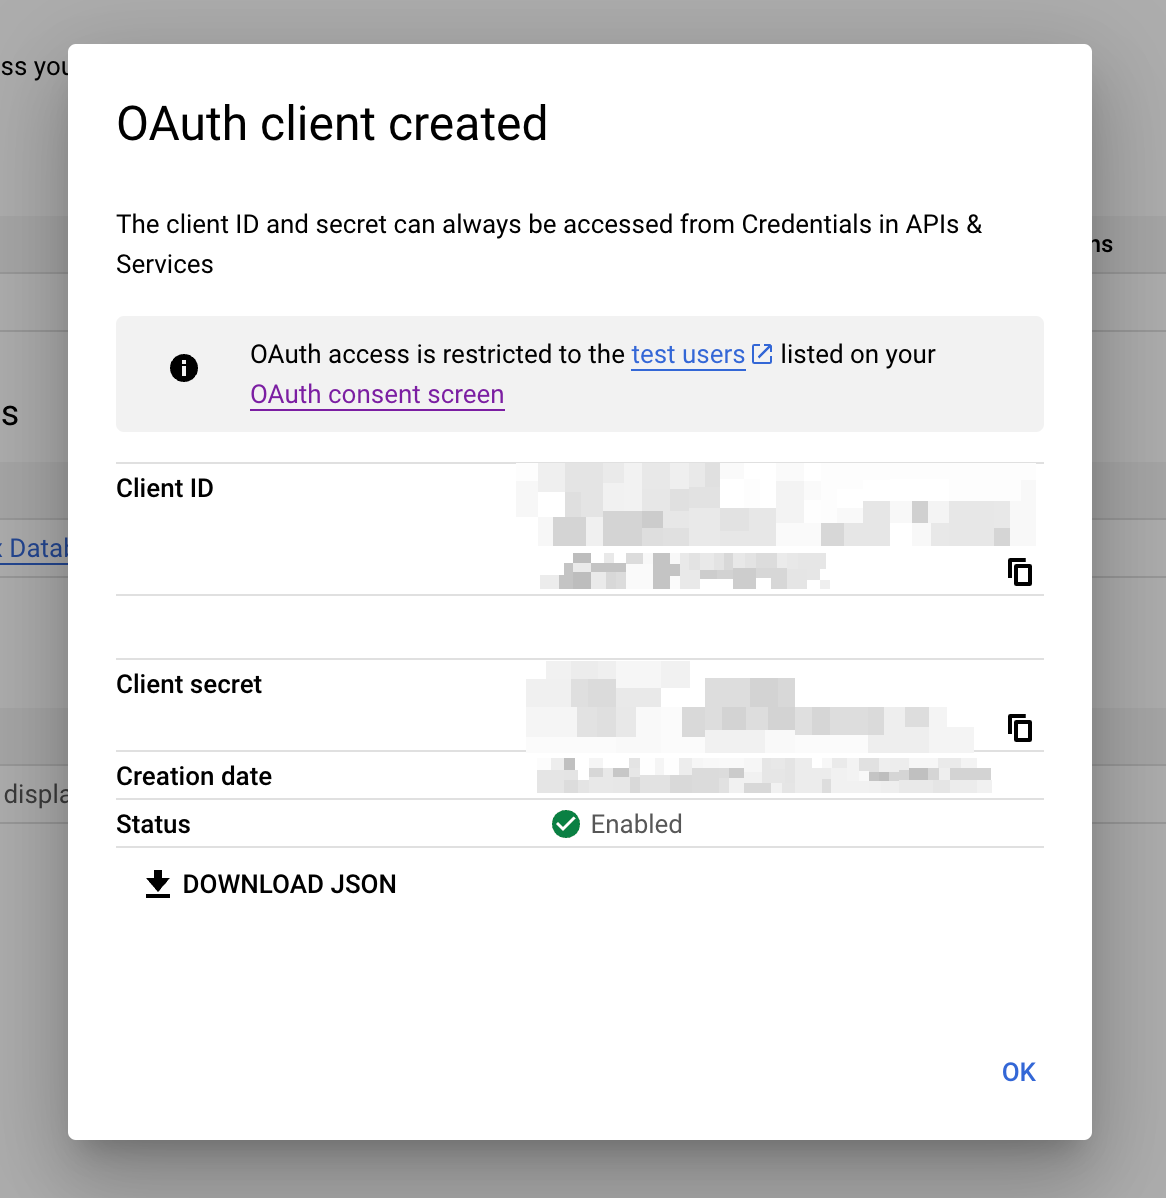
The Client ID and Client Secret are essential for connecting Google Calendar to CloudOffix. Please, copy these for later. This completes your setup in the Google Console.
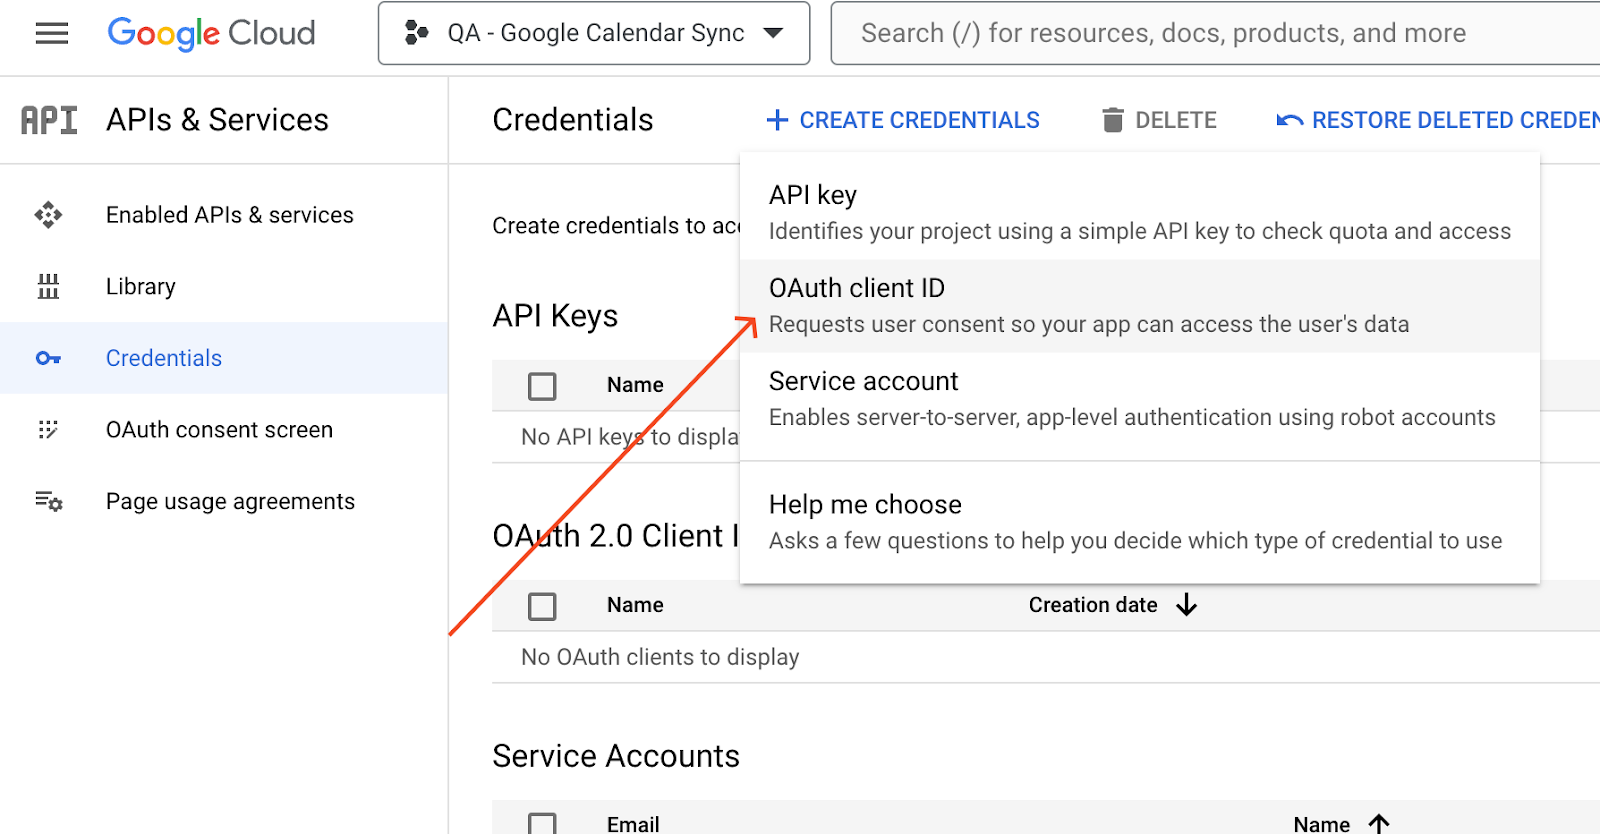
To create credentials, start by navigating to the left menu and clicking "Credentials". Next, select "Create Credentials" and choose "OAuth client ID". Google provides a helpful guide to assist you with this process.
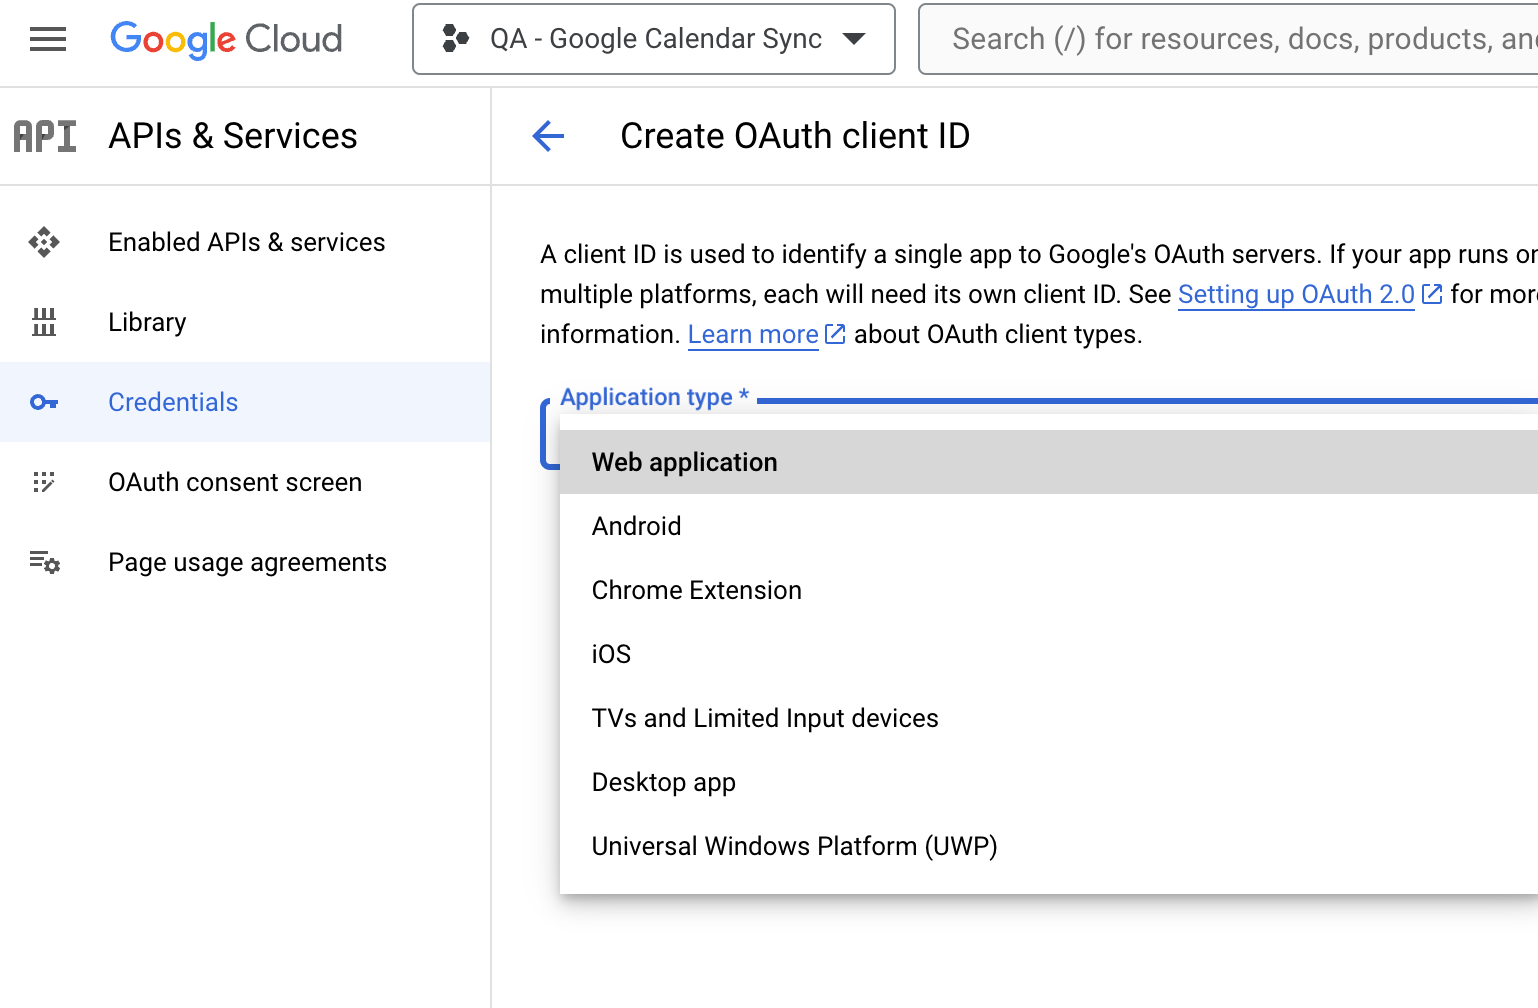
During OAuth Client ID creation, specify the application type. Select "Website application" as it best describes your CloudOffix integration. Additionally, give your client a clear and descriptive name in the "Name" field. In this case, "My CloudOffix Database" is a good option.
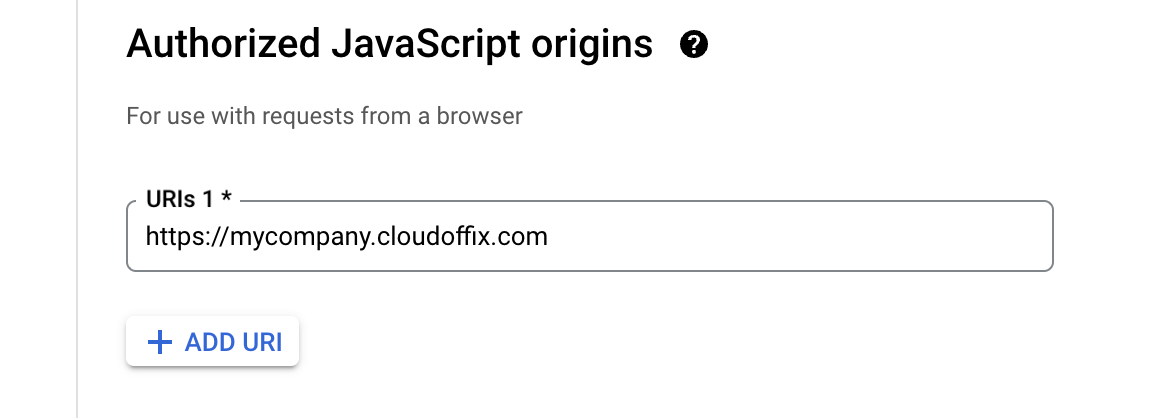
Let's tell Google where to find your CloudOffix! Under "Authorized JavaScript Origins", click the "+ Add URI" button and paste the company's full CloudOffix URL.
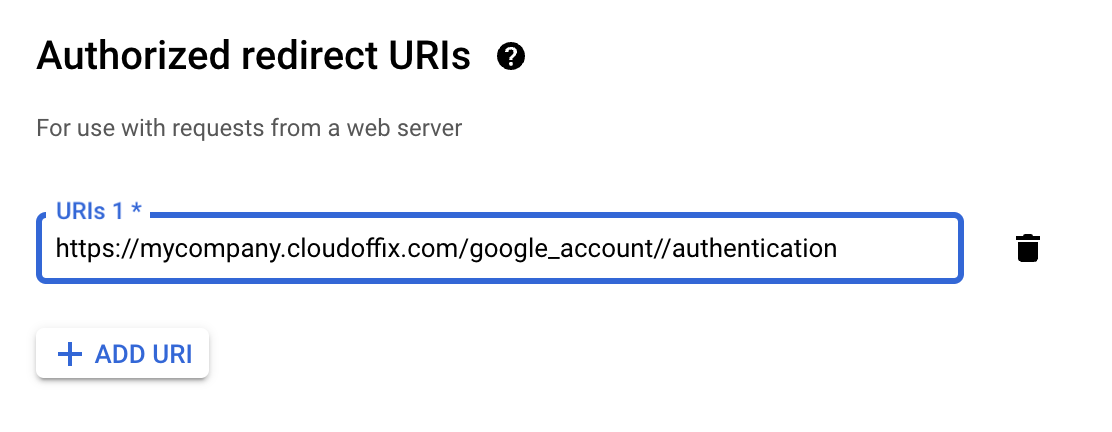
Under "Authorized redirect URIs", click the "+ Add URI" button. Enter the company's full CloudOffix URL, followed by "/google_account/authentication" (this helps connect your CloudOffix to Google). And then, click "Create".
Once you see the Client ID and Client Secret, copy them for a later use.
Fifth step: Setup in CloudOffix
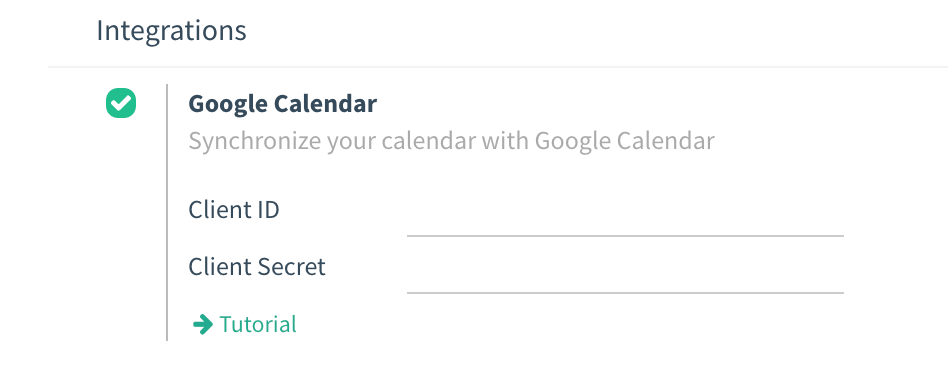
The next step happens within your CloudOffix database. Once you've located the Client ID and Client Secret, open CloudOffix and navigate to Settings. From there, Settings ‣ General Settings ‣ Integrations ‣ Google Calendar. To enable the Google Calendar integration, check the box next to it.
Almost there! Copy and paste the Client ID and the Client Secret from the Google Calendar API credentials page into their respective fields below the Google Calendar checkbox. Clicking Save will ensure your changes are applied
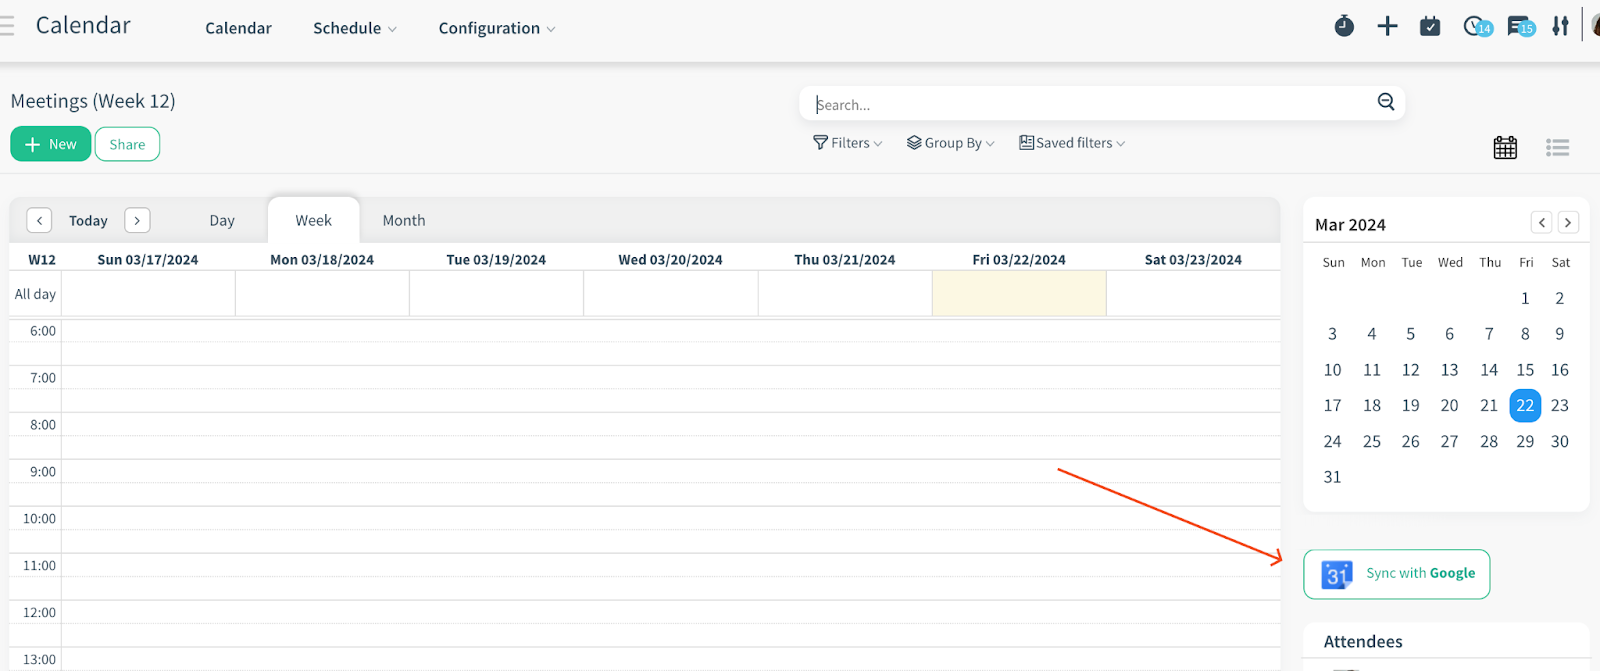
Sixth and Last Step: Sync Calendar in CloudOffix
Synchronization time! Finally, open the Calendar app within your CloudOffix database. Locate the Google sync button (it might have an icon) and click it. This will initiate the process of syncing your Google Calendar with your CloudOffix
calendar.
Remark
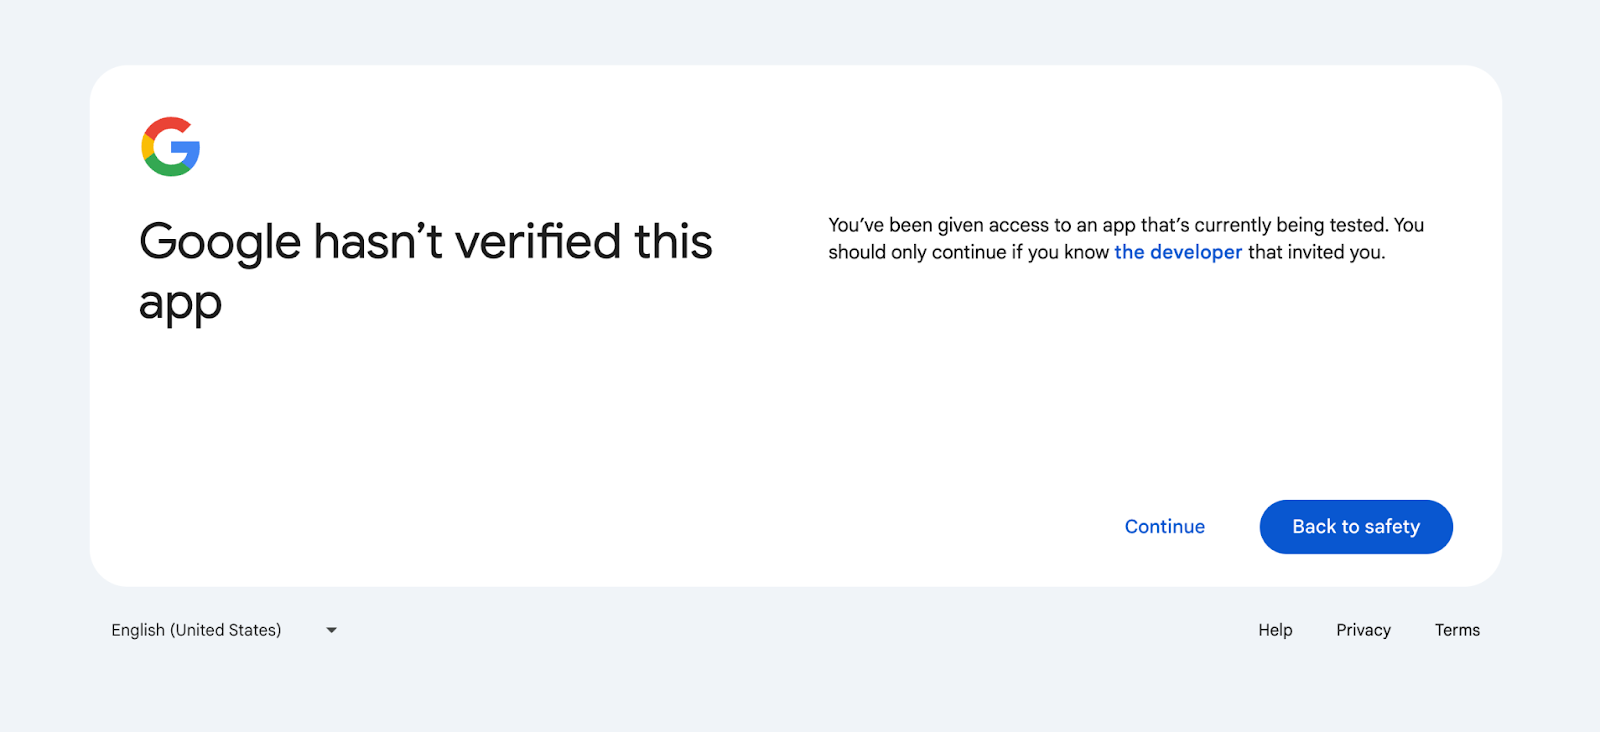
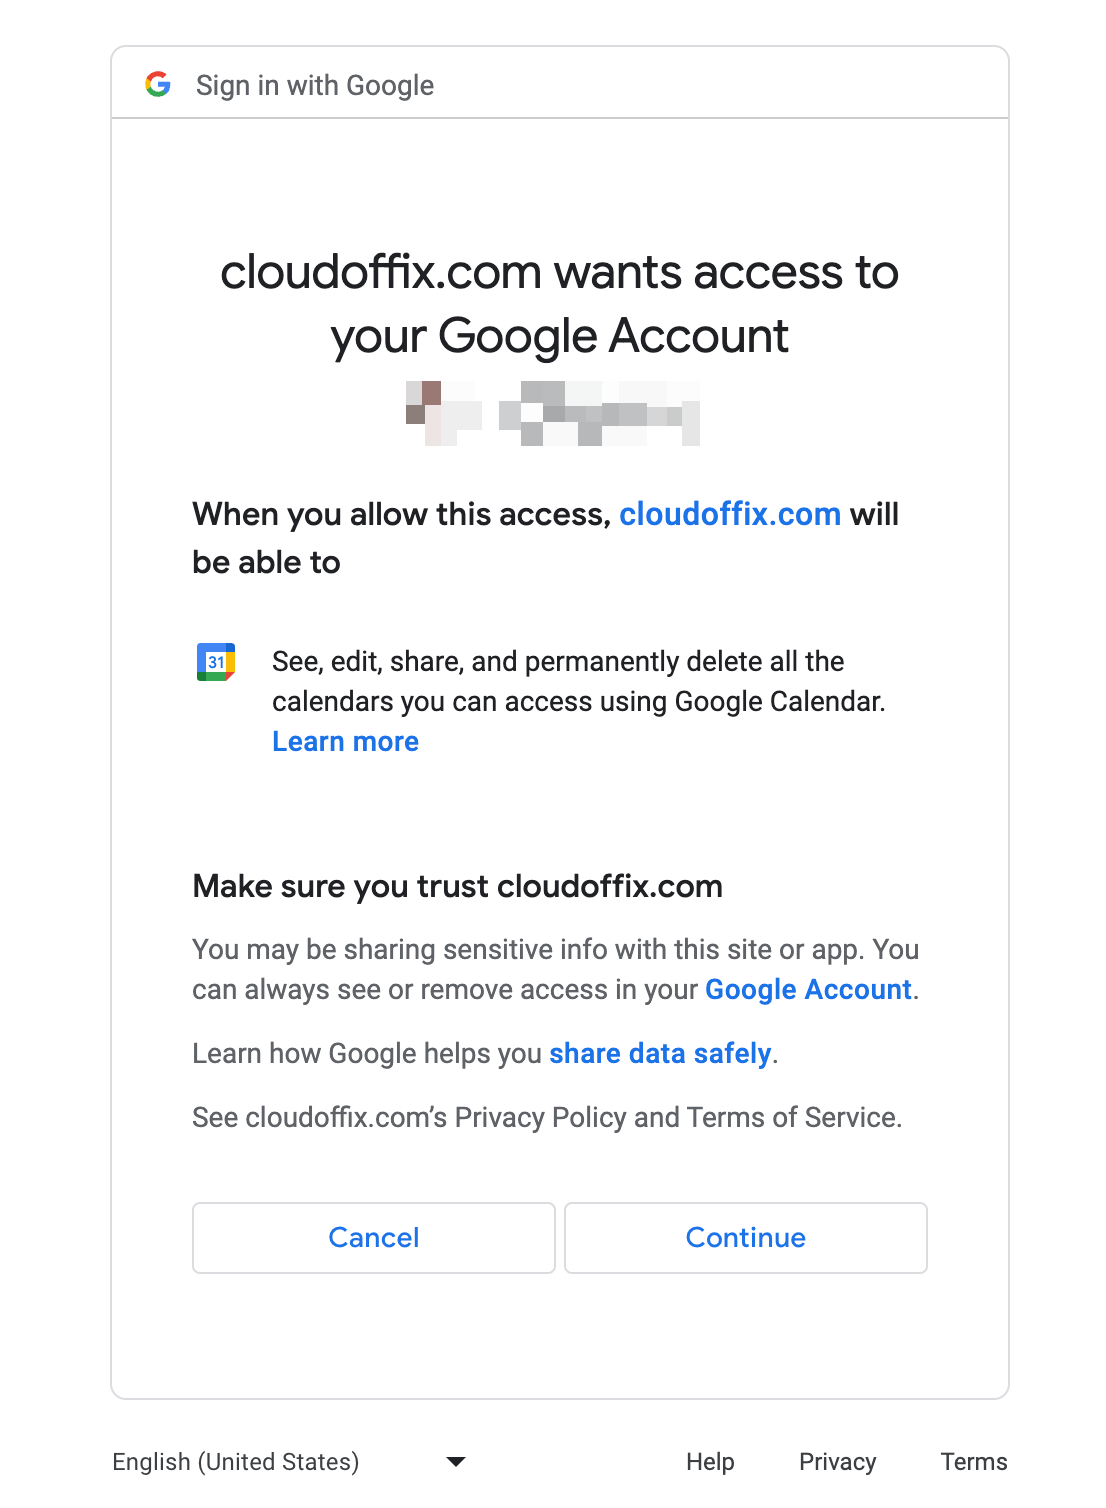
When syncing Google Calendar with CloudOffix for the first time, the page will redirect to the Google Account. From there, select the Email Account that should have access, then select Continue (should the app be unverified), and finally select Continue (to give permission for the transfer of data)
Congratulations! You've established a connection between your CloudOffix Calendar and Google Calendar. This allows you to view and manage meetings on both platforms.